


Part Two: The Ultimate Docker Project 🐋
Where things get interesting...


Last Week: How to Install And Use Claude Code 📘
Next Week: 2025 AI Roadmap 🛣️
This Week: The Ultimate Docker Project: Part Two 🐋
Grab part one here 🔗

Part Two Covers:
Level 2: Installation and Basic Operations
Part Two Covers:
Level 3: Multi Container Applications & Orchestration
Part Three Covers:
Level 4: Production Readiness & Security + The Ultimate Docker Project
Level Two
Installation
We first need to install Docker. I’m going to be doing on this on MacOS, it will almost identical to Linux process. If you’re using Windows you install WSL, i’ve written a guide Here 🔗
Step 1: Install Homebrew (if not already installed)
/bin/bash -c "$(curl -fsSL https://raw.githubusercontent.com/Homebrew/install/HEAD/install.sh)"Step 2: Install Docker
brew install --cask dockerStep 3: Start Docker Desktop
open /Applications/Docker.appWait for Docker to finish starting (the whale icon in your status bar should stop animating).
Double check it’s installed with
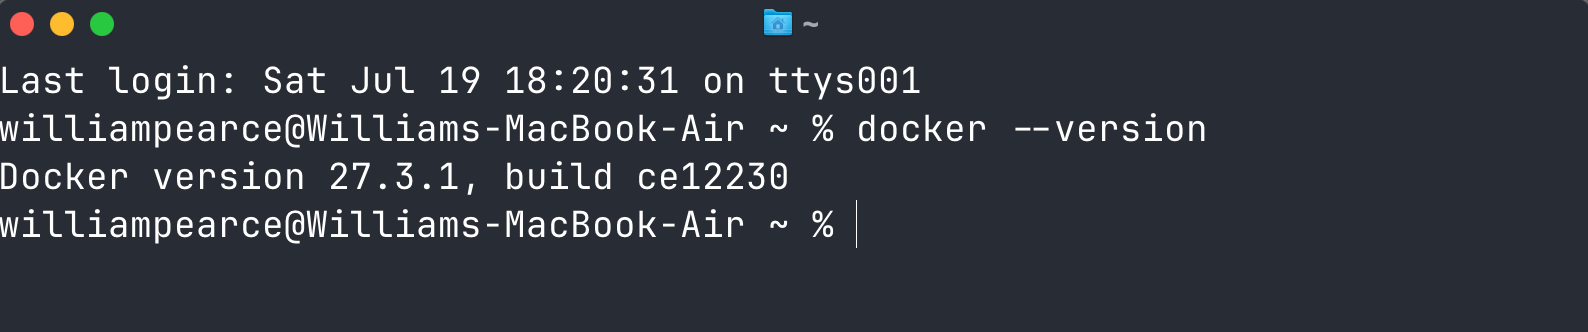
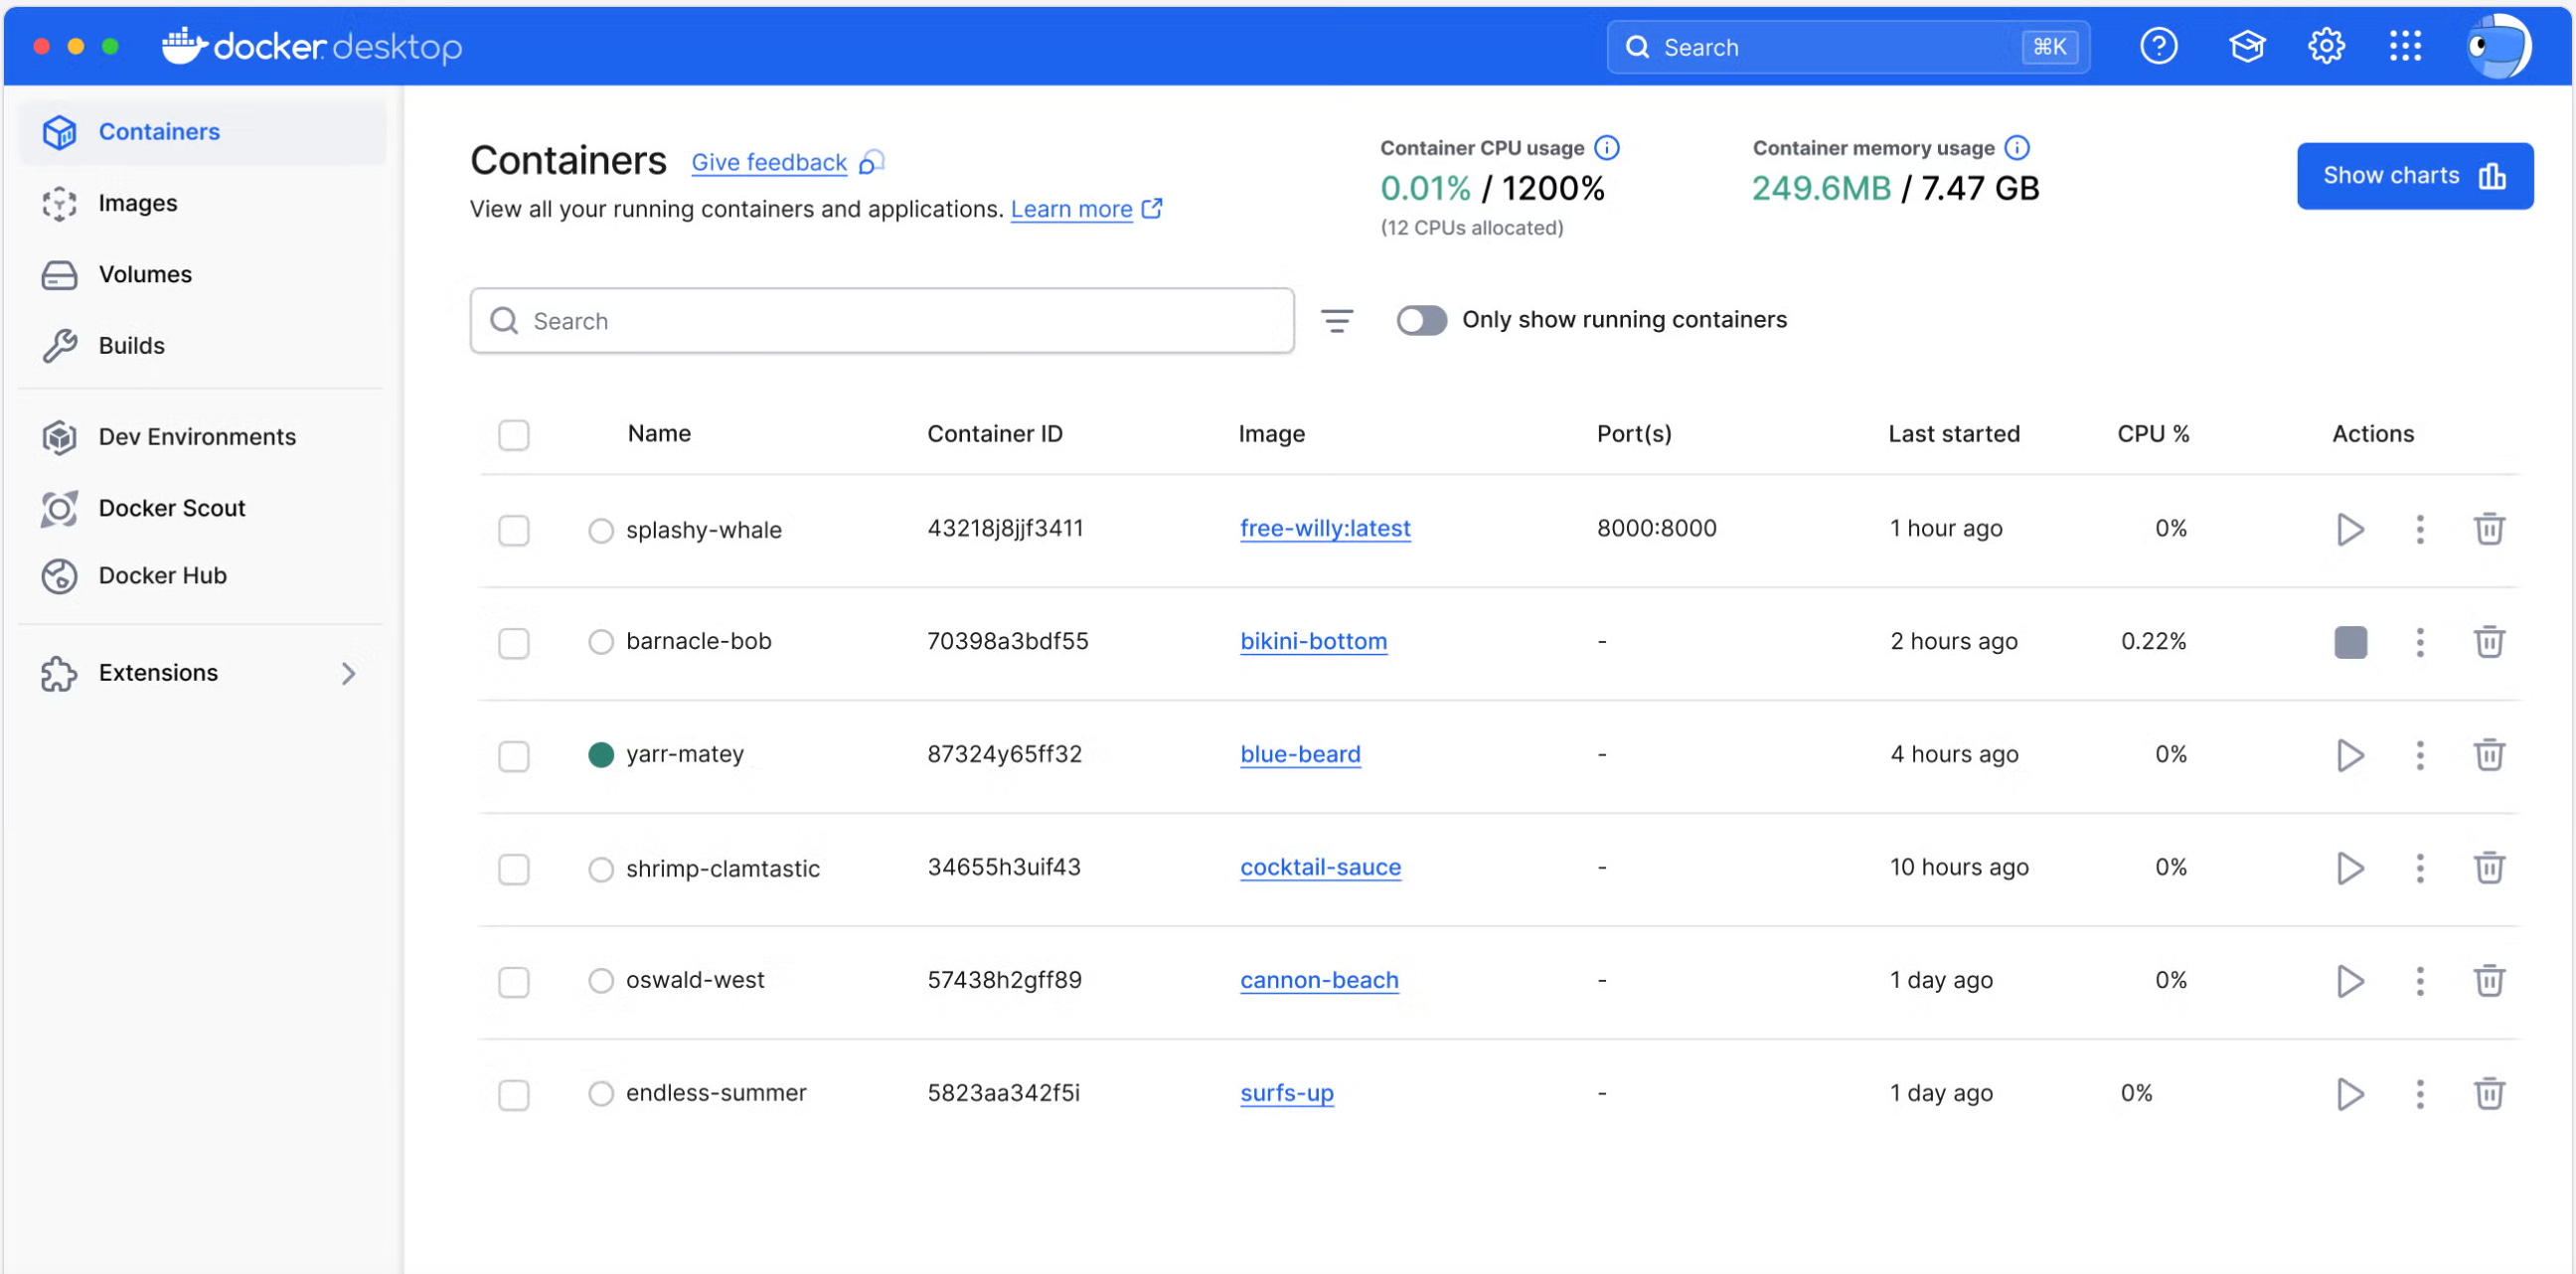
Docker Desktop
Here 🔗 is a link to the steps to install Docker Desktop for macOS, Linux, and Window which I also recommend you use when getting started, you can view your Containers, Images, Volumes etc
Basic Operations
Images (Templates for containers):
docker pull <image>          # Download an image from Docker Hub
docker images               # List all downloaded images
docker rmi <image>          # Remove an image
docker build -t <name> .    # Build image from Dockerfile in current directory
Containers (Running instances):
docker run <image>                   # Create and start a container
docker run -it <image>              # Run interactively with terminal
docker run -d <image>               # Run in background (detached)
docker run -p 8080:80 <image>       # Map host port 8080 to container port 80
docker run --name <name> <image>    # Give container a custom name

docker ps                  # List running containers
docker ps -a               # List all containers (including stopped)
docker stop <container>    # Stop a running container
docker start <container>   # Start a stopped container
docker restart <container> # Restart a container
docker rm <container>      # Remove a stopped container
Container interaction:
docker exec -it <container> bash     # Open bash shell in running container
docker logs <container>             # View container logs
docker cp <file> <container>:/path  # Copy file to container
With Docker installed and a list of basic commands we need to get started let’s take a look at we refer to as the “Container Lifecycle”
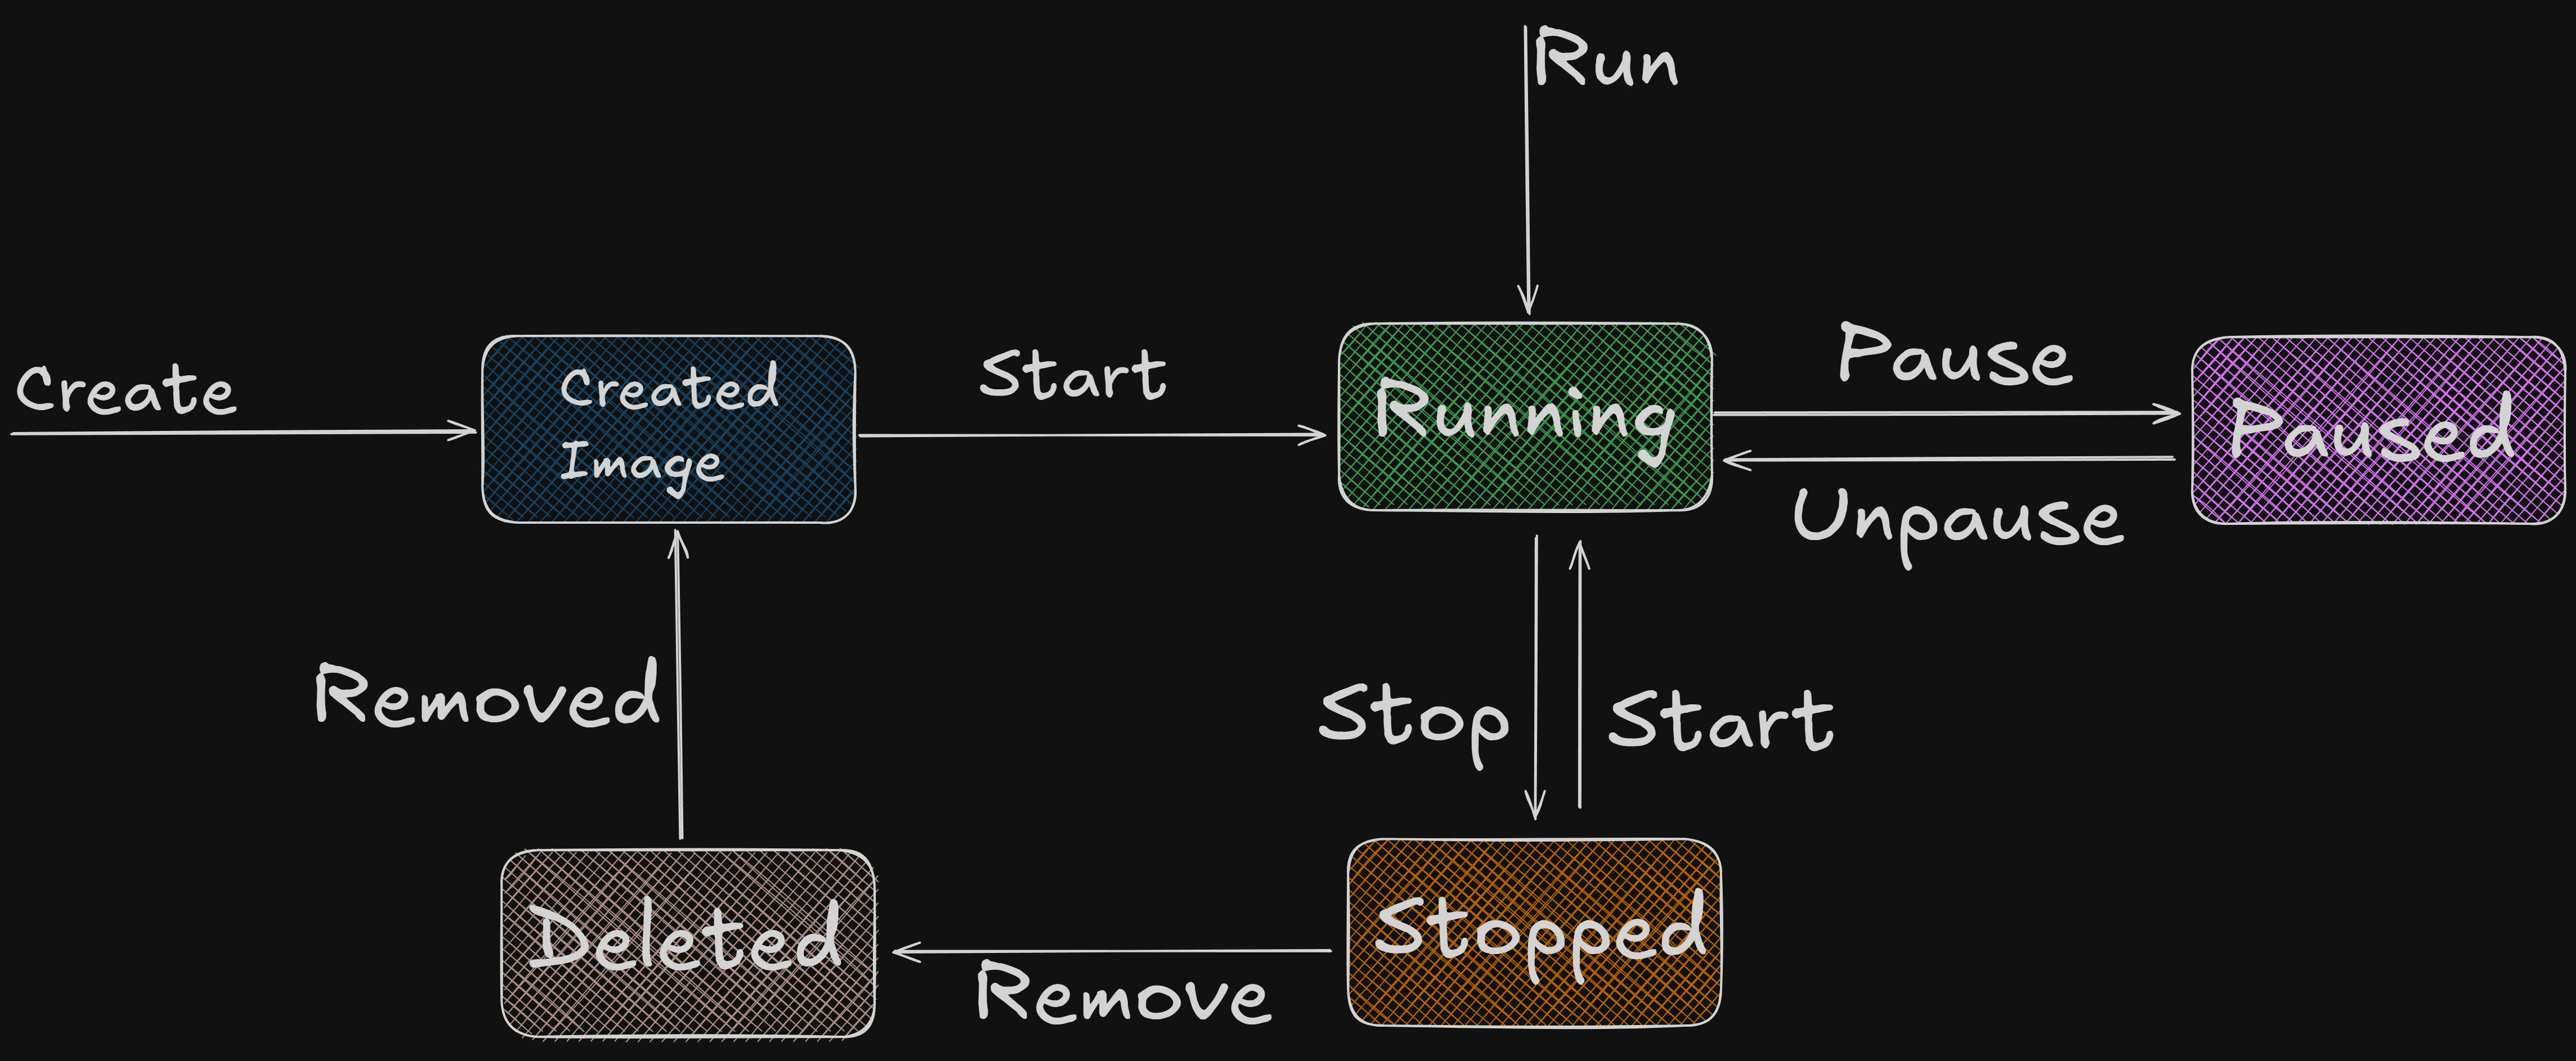
Container Lifecycle
The Journey of a Container can be broken down into six key part
Follow along here if you like:
Image: The blueprint


Keep reading with a 7-day free trial
Subscribe to Cyber Notes to keep reading this post and get 7 days of free access to the full post archives.