


2025 Version 📅
We’ve gotten pretty “Techy” recently, explaining:
- SQL Injection: Made Simple 💉
- AWS Attack Made Simple: whoAMI 💀
- Weekend Project: DevSecOps Intro🛠️
Let’s roll it back for beginners - As far as i’m aware a lot of you are really just interested in the Cloud and maybe haven’t actually ever interacted with it.
Here’s a good high level overview of what we will do today:
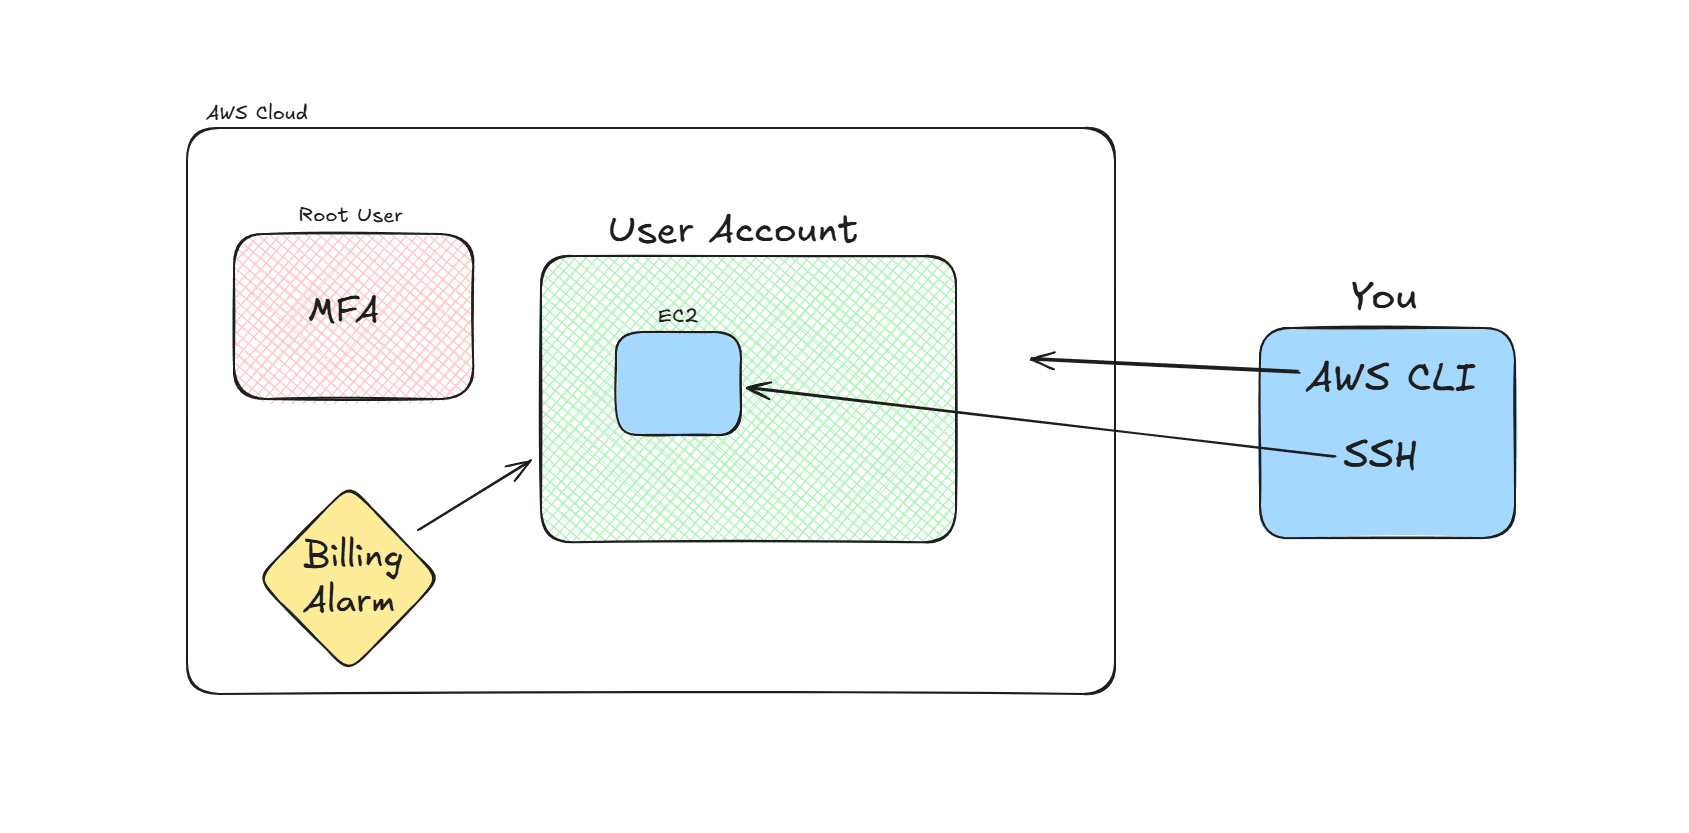
Let’s fix that right now.
This week, take 30 mins and follow the steps here to set yourself up with a Free AWS Account - Following a simple 6 step new account checklist.
And for those looking for a more technical project - Next week I’m going to be sharing a chapter from TechOneTwenty on how you can set up Ansible to rapidly deploy multiple users into your new Cloud instances.
Start here 👉
Note: I’ve made a new account so we can go through this together.
Step 1: Sign Up for AWS
Getting started with AWS begins with creating your account:
Visit the AWS homepage (aws.amazon.com) and click on "Create an AWS Account"
Enter your email address and create an account name
Follow the prompts to provide your contact information
Enter payment information (even though you're using the free tier, AWS requires a payment method on file)
Complete identity verification via phone
Select a support plan (the free Basic Support is sufficient for beginners)
Remember that AWS offers a generous free tier that includes many services at no cost for 12 months. This is perfect for learning and experimentation.
Step 2: Secure Your Root Account
The root account has unrestricted access to all AWS services and resources, making it crucial to protect:
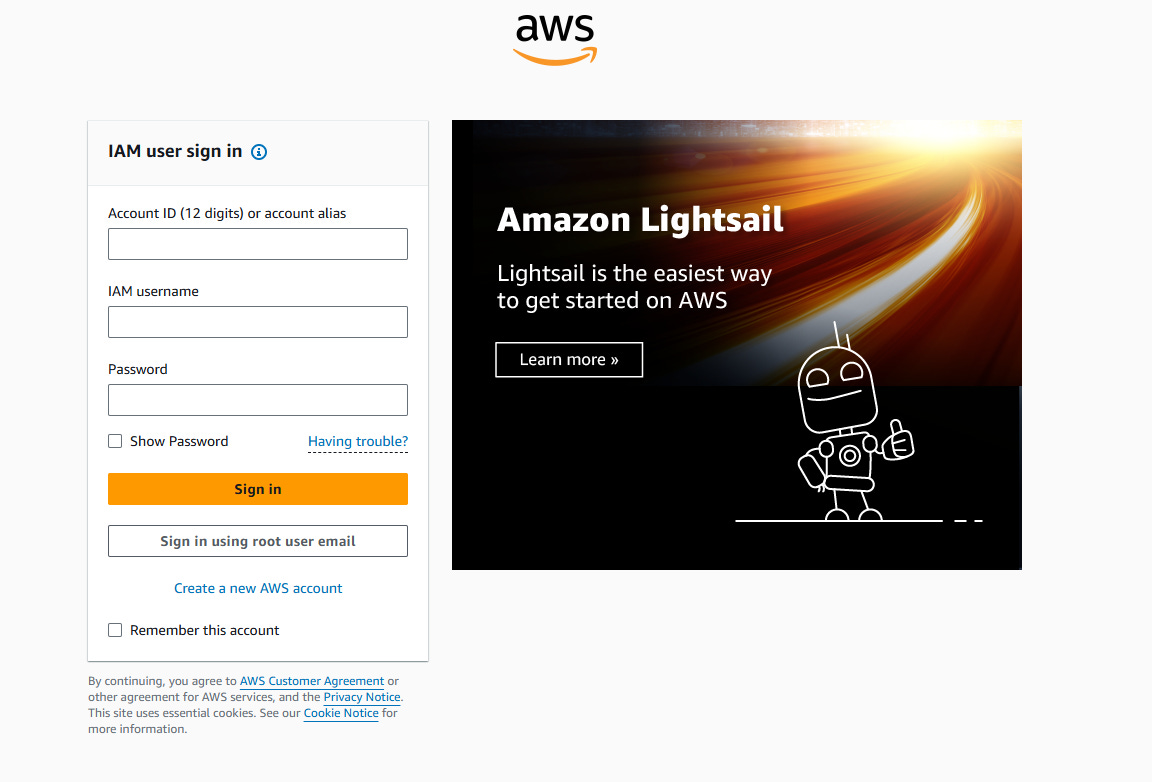
After creating your account, sign in as the root user (with the email and password you registered with)
Navigate to the IAM dashboard (find it in the AWS Management Console under "Services")
Look for the security status checklist and click on "Activate MFA on your root account"
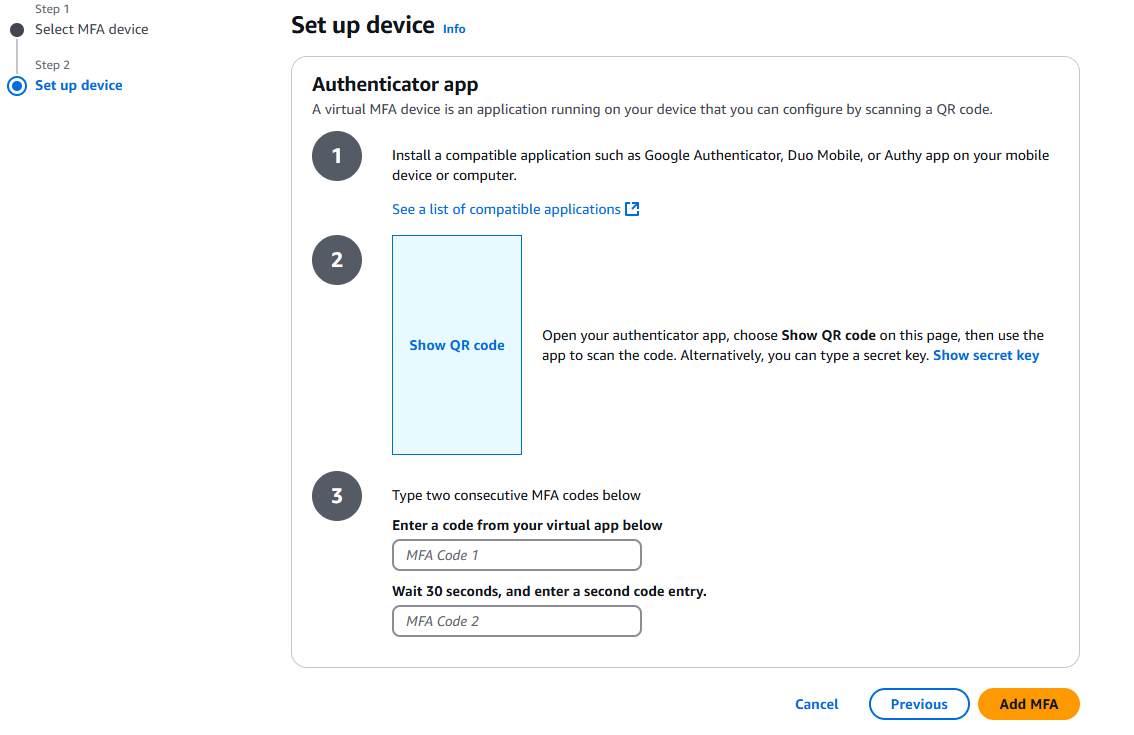
Select "Virtual MFA device"
Install an authenticator app on your smartphone (such as Google Authenticator, Authy, or Microsoft Authenticator)
Scan the QR code displayed in AWS using your authenticator app
Enter two consecutive MFA codes from your app to verify setup
This multi-factor authentication adds an essential second layer of security to your account.
Step 3: Create an IAM User
Best practice is to use your root account only for specific administrative tasks and create an IAM user for everyday work:
In the IAM dashboard, select "Users" then "Create users"
Select “Provide user access to the AWS Management Console”
Create a username and select "Password - AWS Management Console access"
Set a strong password and decide whether to require a password reset
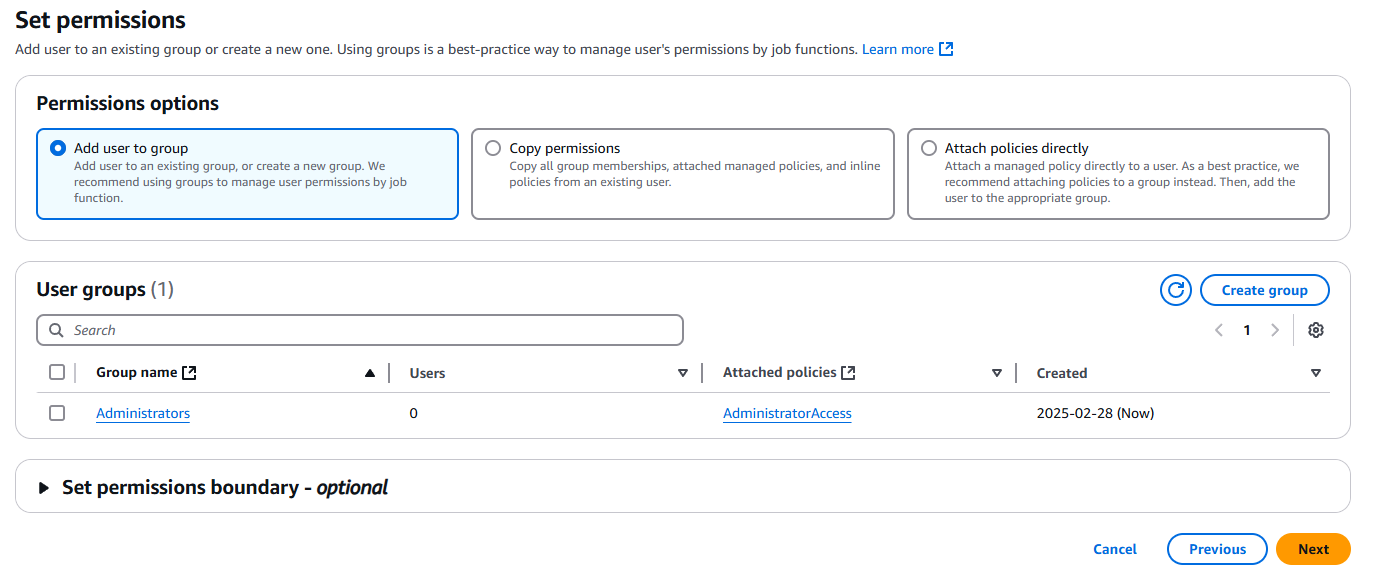
On the permissions page, select "Add user to group"
Create a new group called "Administrators"
Search for and attach the "AdministratorAccess" policy
Review and create the user
Note the sign-in URL provided (bookmark this for future logins)
It’s good practice to create a Role here but that’s for another time.
Now you have a separate administrative user that you should use for most of your AWS activities.
Step 4: Enable Billing Alarms
AWS costs can accumulate quickly if not monitored, so setting up billing alerts is essential:
Navigate to the Billing dashboard
Under "Preferences," enable "CloudWatch billing alerts"
Navigate to the CloudWatch service
Select "Alarms" and then "Create alarm"
Choose "Select metric" and then find "Billing" > "Total Estimated Charge"
Select your preferred currency and click "Select metric"
Set a threshold amount ($10 or whatever you like tbh) and configure the alarm to trigger when charges exceed this amount
Create an SNS topic and add your email address
Name your alarm ("BillingAlert") and create it
Confirm the subscription in the email you receive
This setup ensures you'll be notified before costs grow beyond your expectations - Trust me…please do this.

Step 5: Create SSH Keys
While AWS offers multiple ways to connect to instances, understanding SSH key pairs is fundamental:
Navigate to the EC2 dashboard
In the left navigation pane, under "Network & Security," select "Key Pairs"
Click "Create key pair"
Enter a descriptive name for your key pair
Leave the default key pair type (RSA) and format (.pem for macOS/Linux, .ppk for Windows users with PuTTY)
Click "Create key pair"
The private key file will automatically download to your computer
Store this file securely (anyone with this file can access your instances)
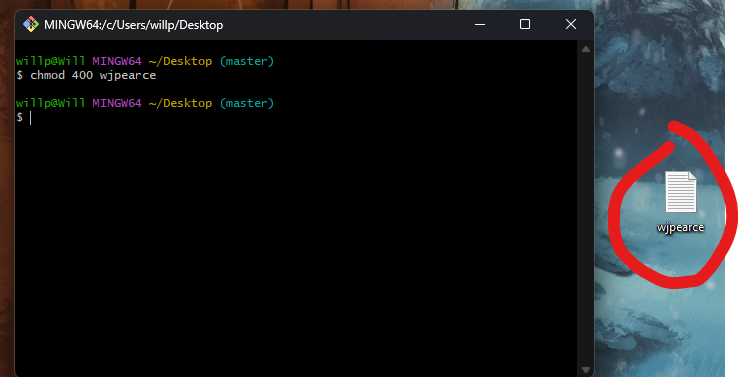
On macOS/Linux, change permissions with:
chmod 400 your-key-file.pem
In my opinion AWS Session Manager provides a more modern and secure connection method, understanding SSH is still valuable knowledge for cloud starters.
Step 6: Launch Your First Instance
Creating your first EC2 instance is an exciting milestone:
Navigate to the EC2 dashboard and click "Launch instance"
Name your instance ("CyberNotes-Instance")
Select an Amazon Machine Image (AMI) - Amazon Linux 2 is a good starting point for beginners
Choose an instance type (t2.micro is included in the free tier)
Select the key pair you created earlier
Configure the security group to allow SSH access (port 22) from your IP address
Review and launch the instance
Wait for the instance to initialize (check the "Instance state" column)
Once running, select the instance and click "Connect" for connection instructions
Congratulations! 🎉 You now have a running virtual server in the AWS cloud.

Step 7: Install the AWS CLI
The AWS Command Line Interface gives you powerful control over AWS services from your terminal:
Download and install the AWS CLI:
Windows: Download and run the installer from the AWS website
macOS: Use
brew install awscliwith Homebrew or download the installerLinux: Use your package manager (
sudo apt install awscli) or download the installer
Open your terminal or command prompt and verify installation with:
aws --versionConfigure the CLI with your credentials:
aws configureWhen prompted, enter:
Your IAM user's access key ID and secret access key (create these in the IAM console if needed)
Your default region (for me it’s eu-west-2)
Your preferred output format (json is recommended)
Test the configuration by running a simple command:
aws s3 ls
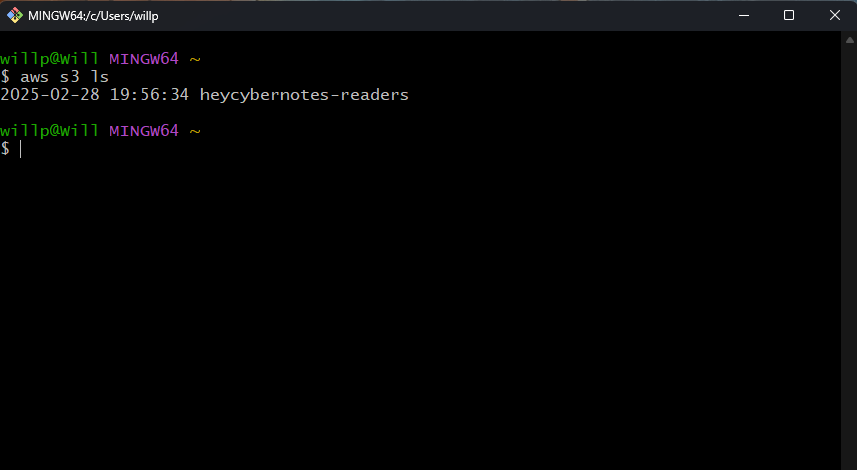
This setup allows you to manage AWS resources through scripts and automation, which will be especially useful for next week's Ansible automation content.
Next Steps
You now have a functioning AWS account with proper security measures, you’re ready for next week's more advanced content on using Ansible for automated user deployment.
Thank you for reading: Keep it secure, keep it light-hearted!
WJPearce - CyberBrew
Uncanny! I was reading about Amazon's Ocelot Quantum Computing chip at the weekend. Unlike Microsoft's recent attempt to steal the headlines by preemptively announcing theirs,the Majorana1, Amazon have published their scientific findings and architecture notes in the well respected Nature Magazine. Way to go, whereas Microsoft would have us just take their word for it. Anyhow. All this lead me to thinking I probably should get a free AWS account for CS research and related Quantum interests and here we are!. That's today's project sorted! Great stuff. Thanks for the steer. I'm on it :-)