VPNs have long been the standard for encrypting network data, and masking your IP. However, they often suffer from slow speeds and complicated deployment processes.
Enter Twingate: in contrast, a deployment time of under 15 minutes, thanks to a lightweight connector that only needs to be installed on a single network host.
Heads up, this post is probably a smidgen too long for your inbox, so follow along on your browser. Let's look at how we could quickly and simply deploy Twingate for a fun project. Buckle up; it’s really rather easy.
Before we can dive into the fun stuff there are two prerequisites you’ll need for this project; a Twingate account (free!) and an AWS EC2 instance with Shell access. This can also be done with Azure and GCP.
Sign in for Twingate
Upon signing up, we need to choose a Network Name and a Network URL:
AWS Environment
Here you’ll need an AWS EC2 with shell access; you can honestly configure this how you like for the most part. I prefer Ubuntu over the Amazon Linux 2. For access to the terminal you can use SSH or Session Manager here.
Now we’ve covered the initial set up lets get stuck in.
Adding a remote network
The first thing we want to configure is a remote network.
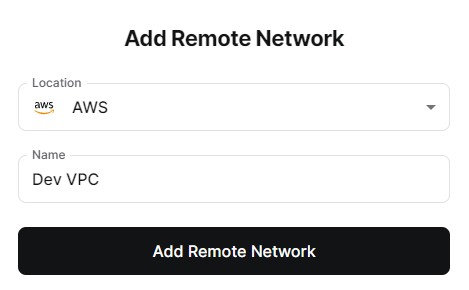
Select “+ Remote Network” and configure using AWS as the Location and a suitable name. Most Enterprises follow the Dev, Test, Pre-Prod and Production Environment model; if you’re new to this space it’s a good habit to get into.
Now that our remote network has been defined we can deploy a connector - I told you this was easy.
Deploy a Connector
You will see two connectors already generated - we need to deploy at least one of these for remote access.
Here, there are five simple steps:
Step 1. Select a Deployment Method - we are going to select Linux.
Step 2. Generate Tokens - Click generate tokens, re-authenticate,
Step 3. Install and Launch Connector Service - You should now see a command has been generated, we are going to run this command in the EC2 shell to install and launch the Connector.
Step 4. Time to deploy - Copy & paste the above command into your EC2 instance, wait a minute
Step 5. Navigating back to Twingate we should now see a green dot - letting us know the connection was successful. We now have a secure connection into our AWS VPC… pretty cool.
Install the Twingate client - I’m using Windows but they have all the options you’d expect.
Add a resource
We just need to quickly set up an example resource now (Something for us to test Twingate with) This can really be anything you like.
Here, there are three quick steps:
We need a new instance, with a pre configured AMI for ease - Pick anything with a free trial and T2.Micro to save spending any money and remember to remove the instance, configurations and AMI Sub after the project is complete.
I’ve gone for Jenkins here as it’s a product I’m already comfortable deploying and it works well on a small instance.
Choose "Next" and ensure you’re deploying this instance into the same Subnet as your Connector and that you’ve disabled Public IP - remember, the cool thing here is we can connect using the Private IP.
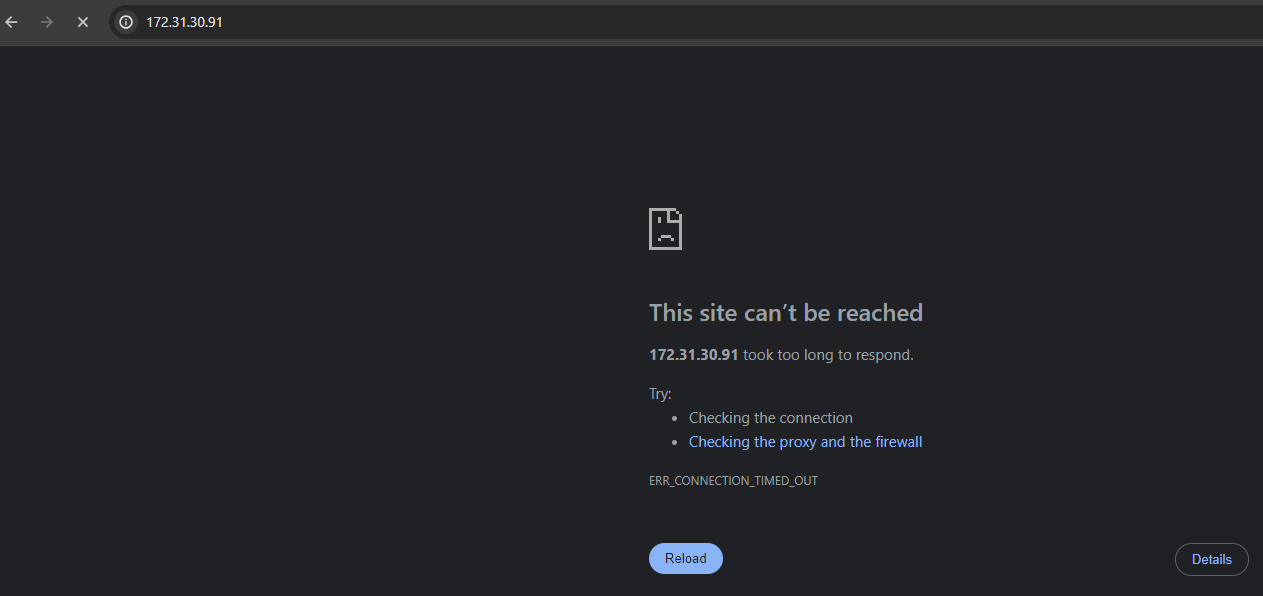
Quick test to prove what we already know, we can’t connect
Navigate back to Twingate and add the Private IP as a resource
We don’t have any users configured so select everyone - we can get really granular here if we wish.
Install Client
Download and install the Twingate client - I’m using Windows but other platforms are available:
Enter your network name; for me that’s “wjp.twingate.com“ for me, then selecting Twingate in the icon tray we can see your Jenkins resource.
After being prompted for authentication one last time, we can now access our resource using the Private IP address!
From here we can get really fancy with port restrictions but that’s for another time.
I’m a firm believer this type of access is the future for accessing your resources securely, so why not get ahead of the curve and learn this stuff now.
Okay, but where do I get started?
Hit the button and head on over Twingate to sign up for free and start learning today.
“Twingate makes Zero Trust Network Access easy to deploy, even easier to use, and always secure”
Thank you for reading: Keep it secure, keep it light-hearted!
WJPearce - CyberBrew


